Pictorico Pro Ultra Premium OHP transparency paper is the gold standard media for printing digital negatives. There are other good (and more affordable) options out there, but I’ve always used Pictorico and continue to do so because it works well for me.
The purpose of this article is to provide a step by step tutorial on how to create an Epson media profile that is optimized for this transparency paper. A couple of things to keep in mind: I use an Epson P700 - settings might look slightly different if you have a different Epson printer model. Also, sorry, but I have no idea what the equivalent settings might be on a Canon printer (or other brands, for that matter), having never owned one.
The Epson Media Installer is a paper settings management tool for Epson printers. It stores paper settings, and sends this information to both computer and printer. If you don’t already have it installed, the first thing you’ll want to do is to download and install it.
When you open Epson Media Installer is should look something like this:
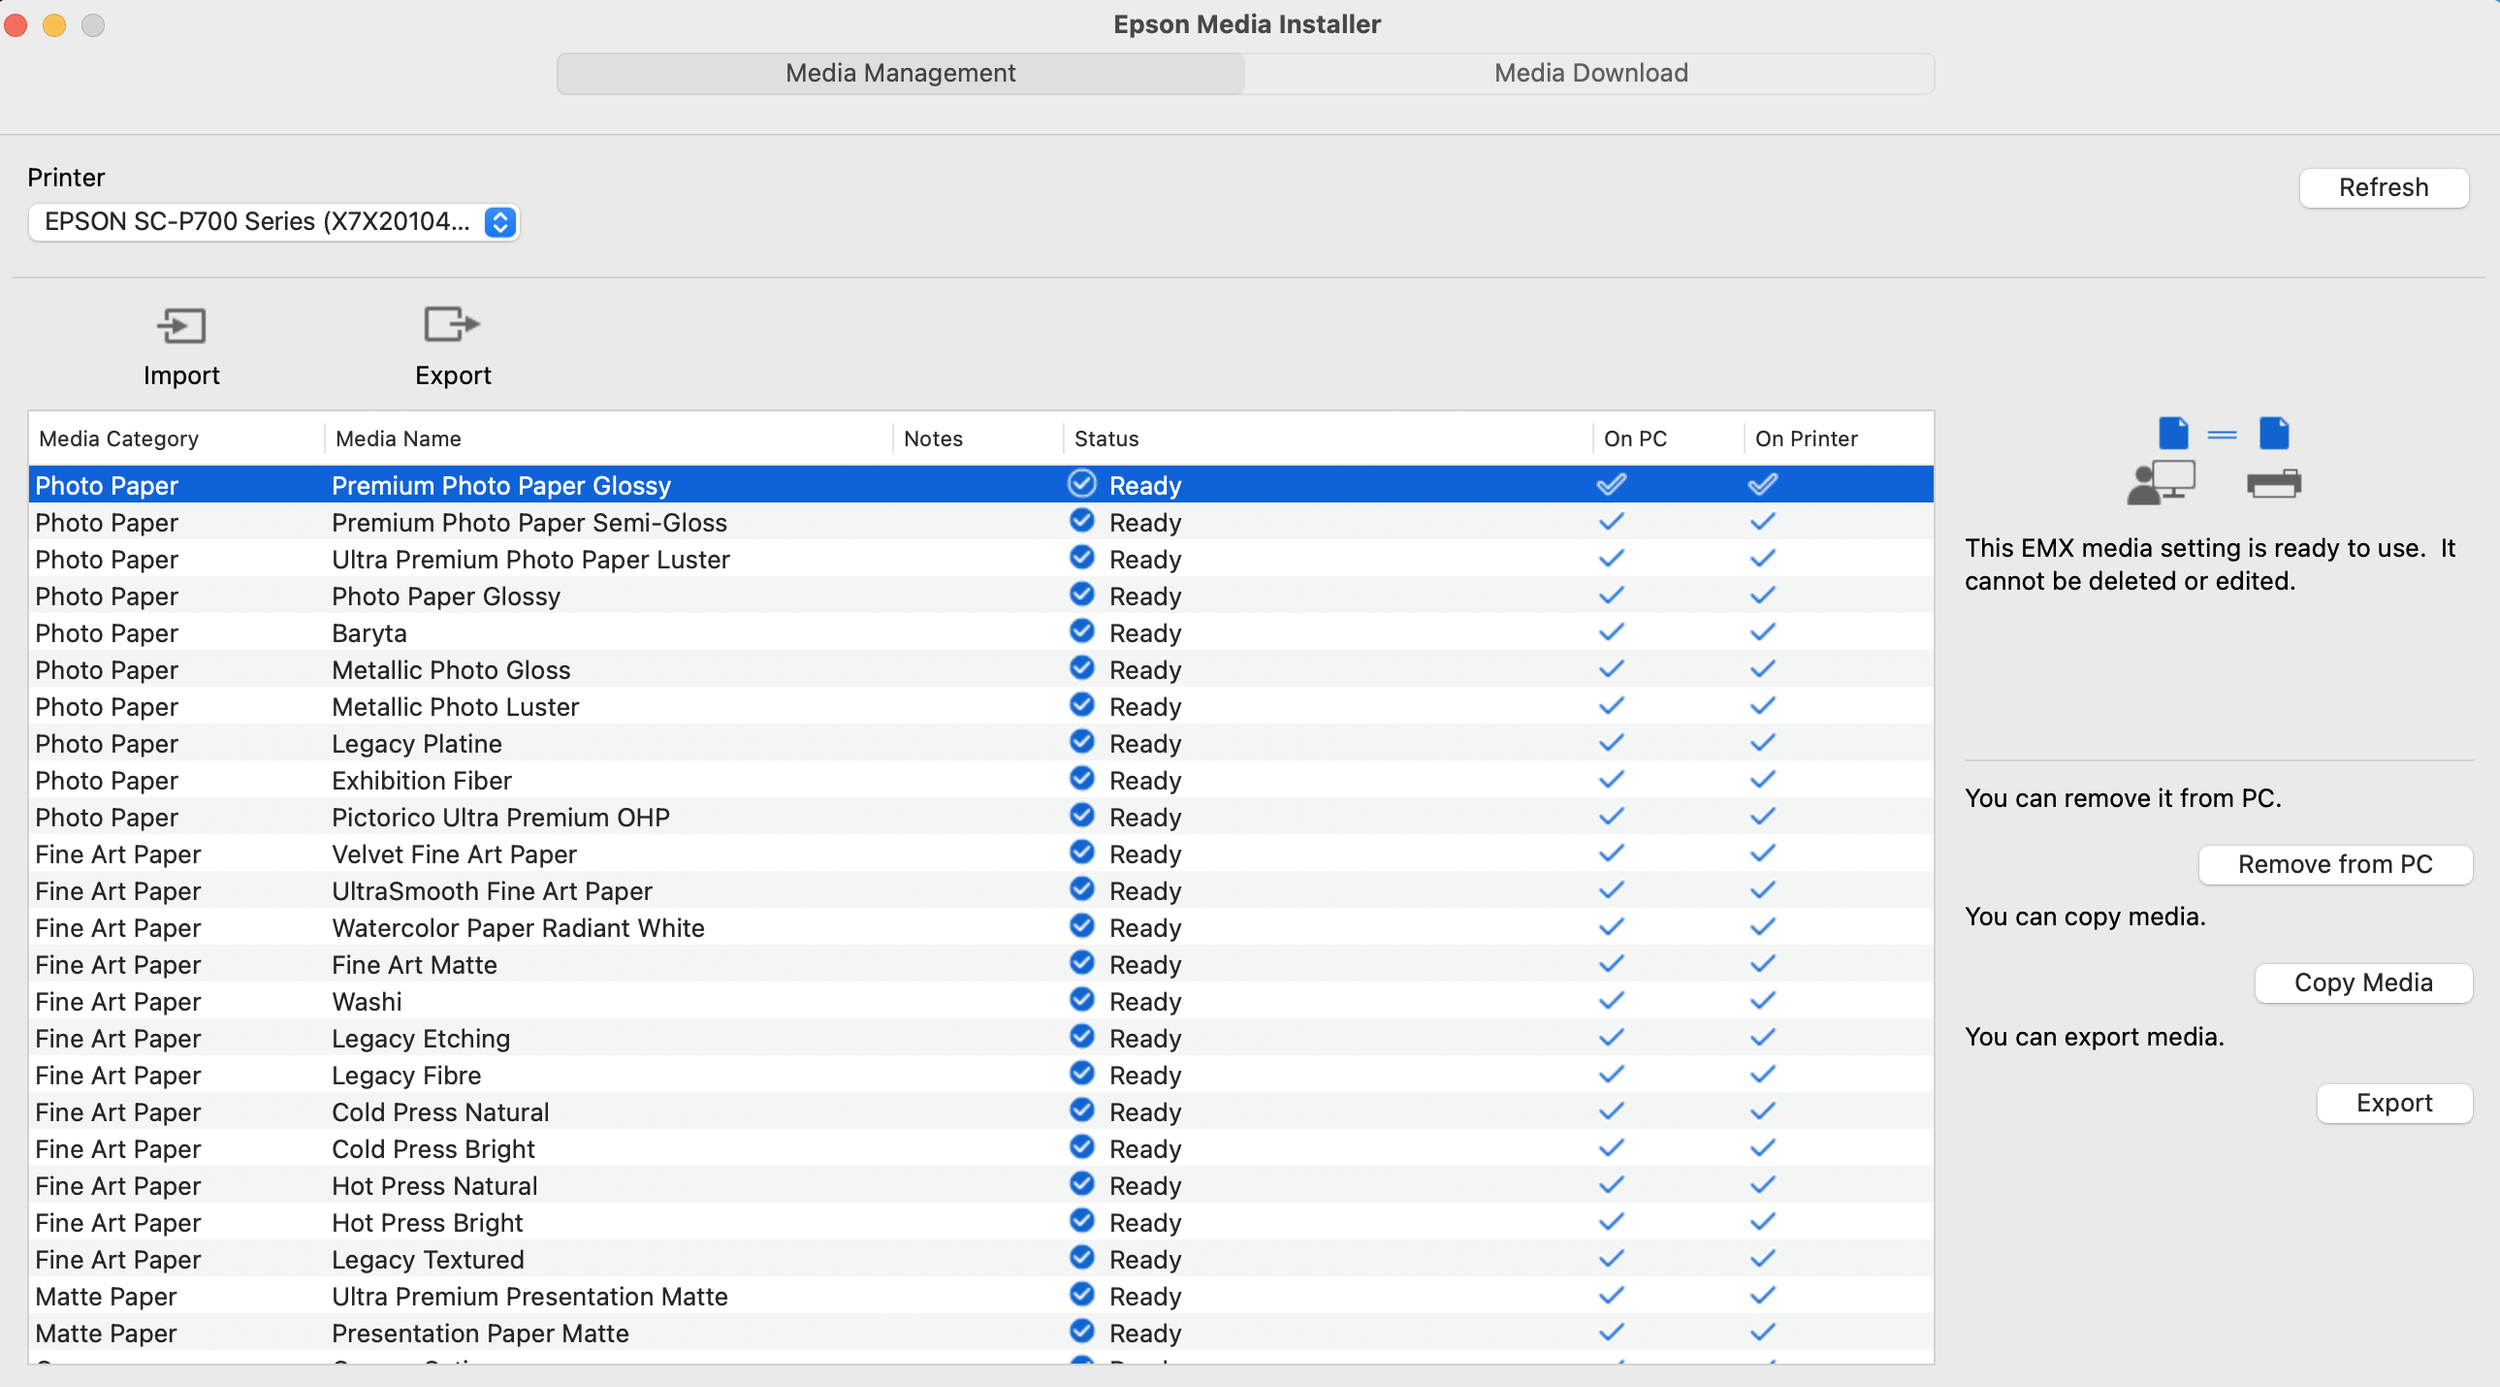
We will use the “Premium Photo Pater Glossy” (the first media at the top) as our template. Highlight this media and click on “Copy Media,” then select the copy that it created, and click on “Edit”.
Rename the “Media Setting Name” to “Pictorico Pro Ultra Premium OHP”.
Keep “Media Category” set to “Photo Paper”.
We will need to change the “Platen Gap” setting to 1.5mm. The platen gap is the distance between the printer's print head and the paper surface. Adjusting this setting ensures the paper passes safely through the printer without rubbing, while keeping an optimal distance for sharp ink-dot placement. When laying down dense ink for digital negatives, this setting needs to be expanded to 1.5 mm to prevent physical print defects. This larger platen gap eliminates "pizza wheel" marks and head strikes. Pizza wheel marks look like a series of faint, dotted lines or tiny dashes running vertically down the length of the print. They happen when the tiny, sharp "star wheels" at the printer's exit tray press onto ink that is not fully dry. Head strikes look like dark ink smudges or streaks on the surface of the print. They happen when the printhead scrapes the film surface. Because Pictorico cannot absorb ink as fast as paper, head strikes on film look like wet smears.
Set “Drying Time per Pass” to 1.0 second. As a default, this is set to 0. Increasing it to 1 second allows the printhead to briefly pause after each pass, which helps the heavy ink load to set. If you still get print defects, try increasing this to 1.5 or 2 seconds.
Set “Paper Thickness” to 0.15mm. This is the closest match to the actual 0.145 mm thickness of Pictorico film.
All other settings can stay as-is.
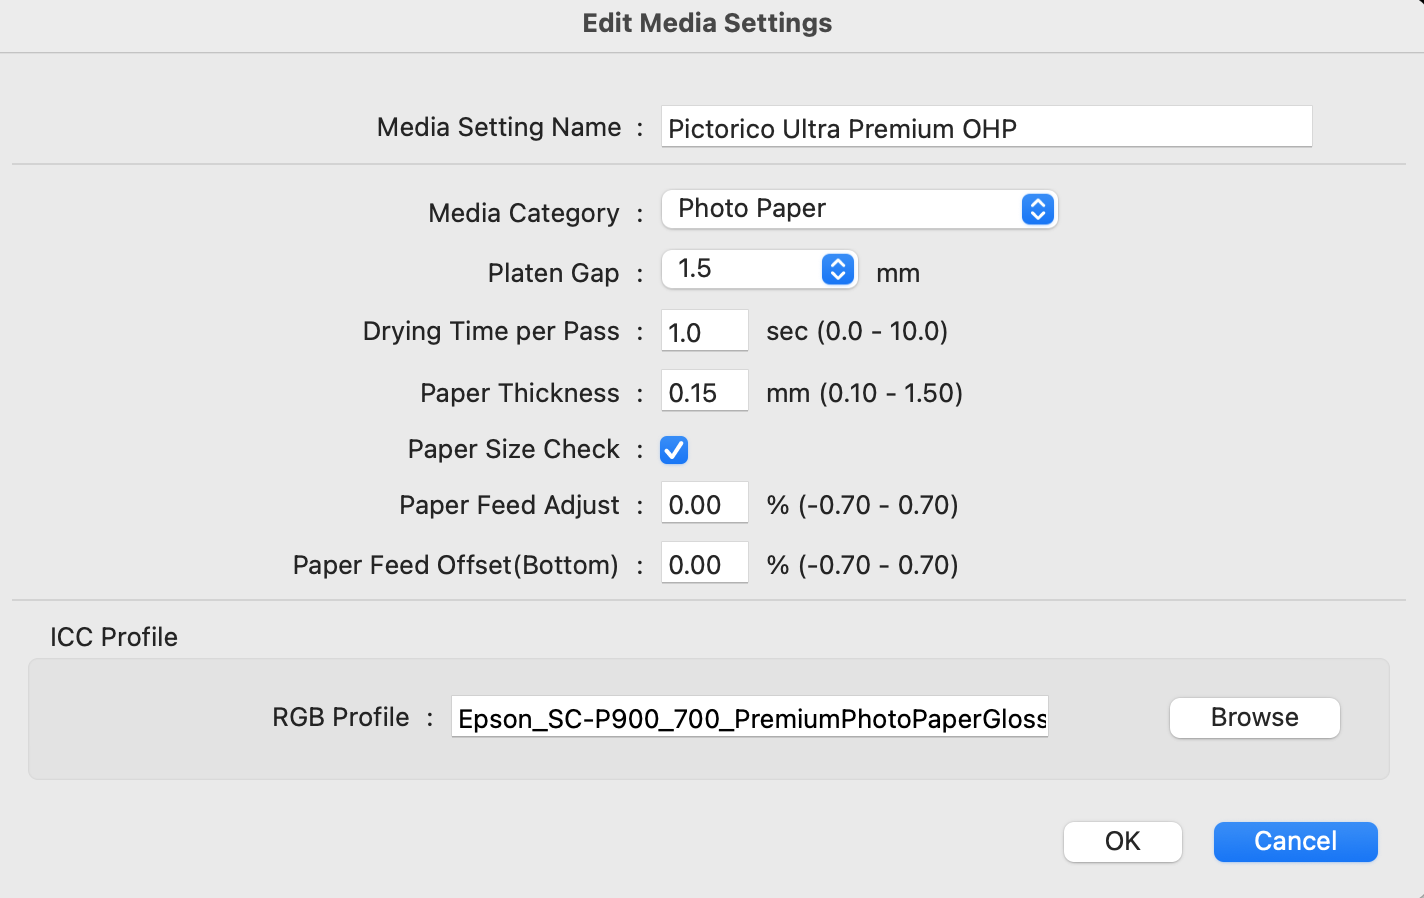
Click on “OK”, then click on “Set to printer”. This will push the new media to the printer.
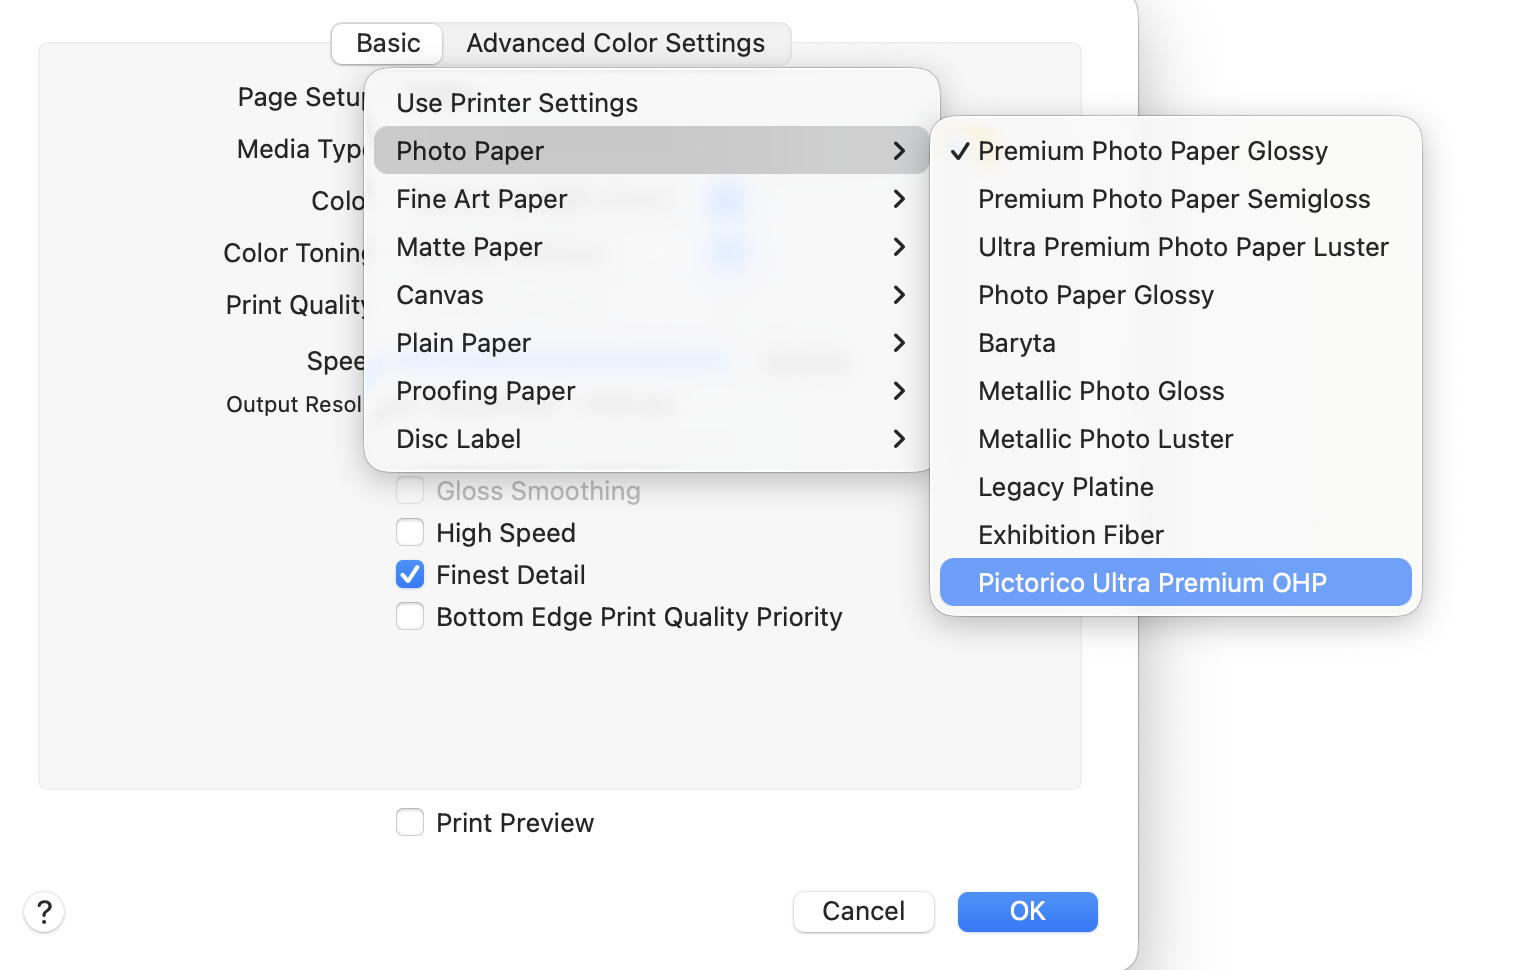
Now, when reopening Photoshop, our new “Pictorico Pro Ultra Premium OHP” media profile will be available to select in Photoshop, under “Photo Paper”:
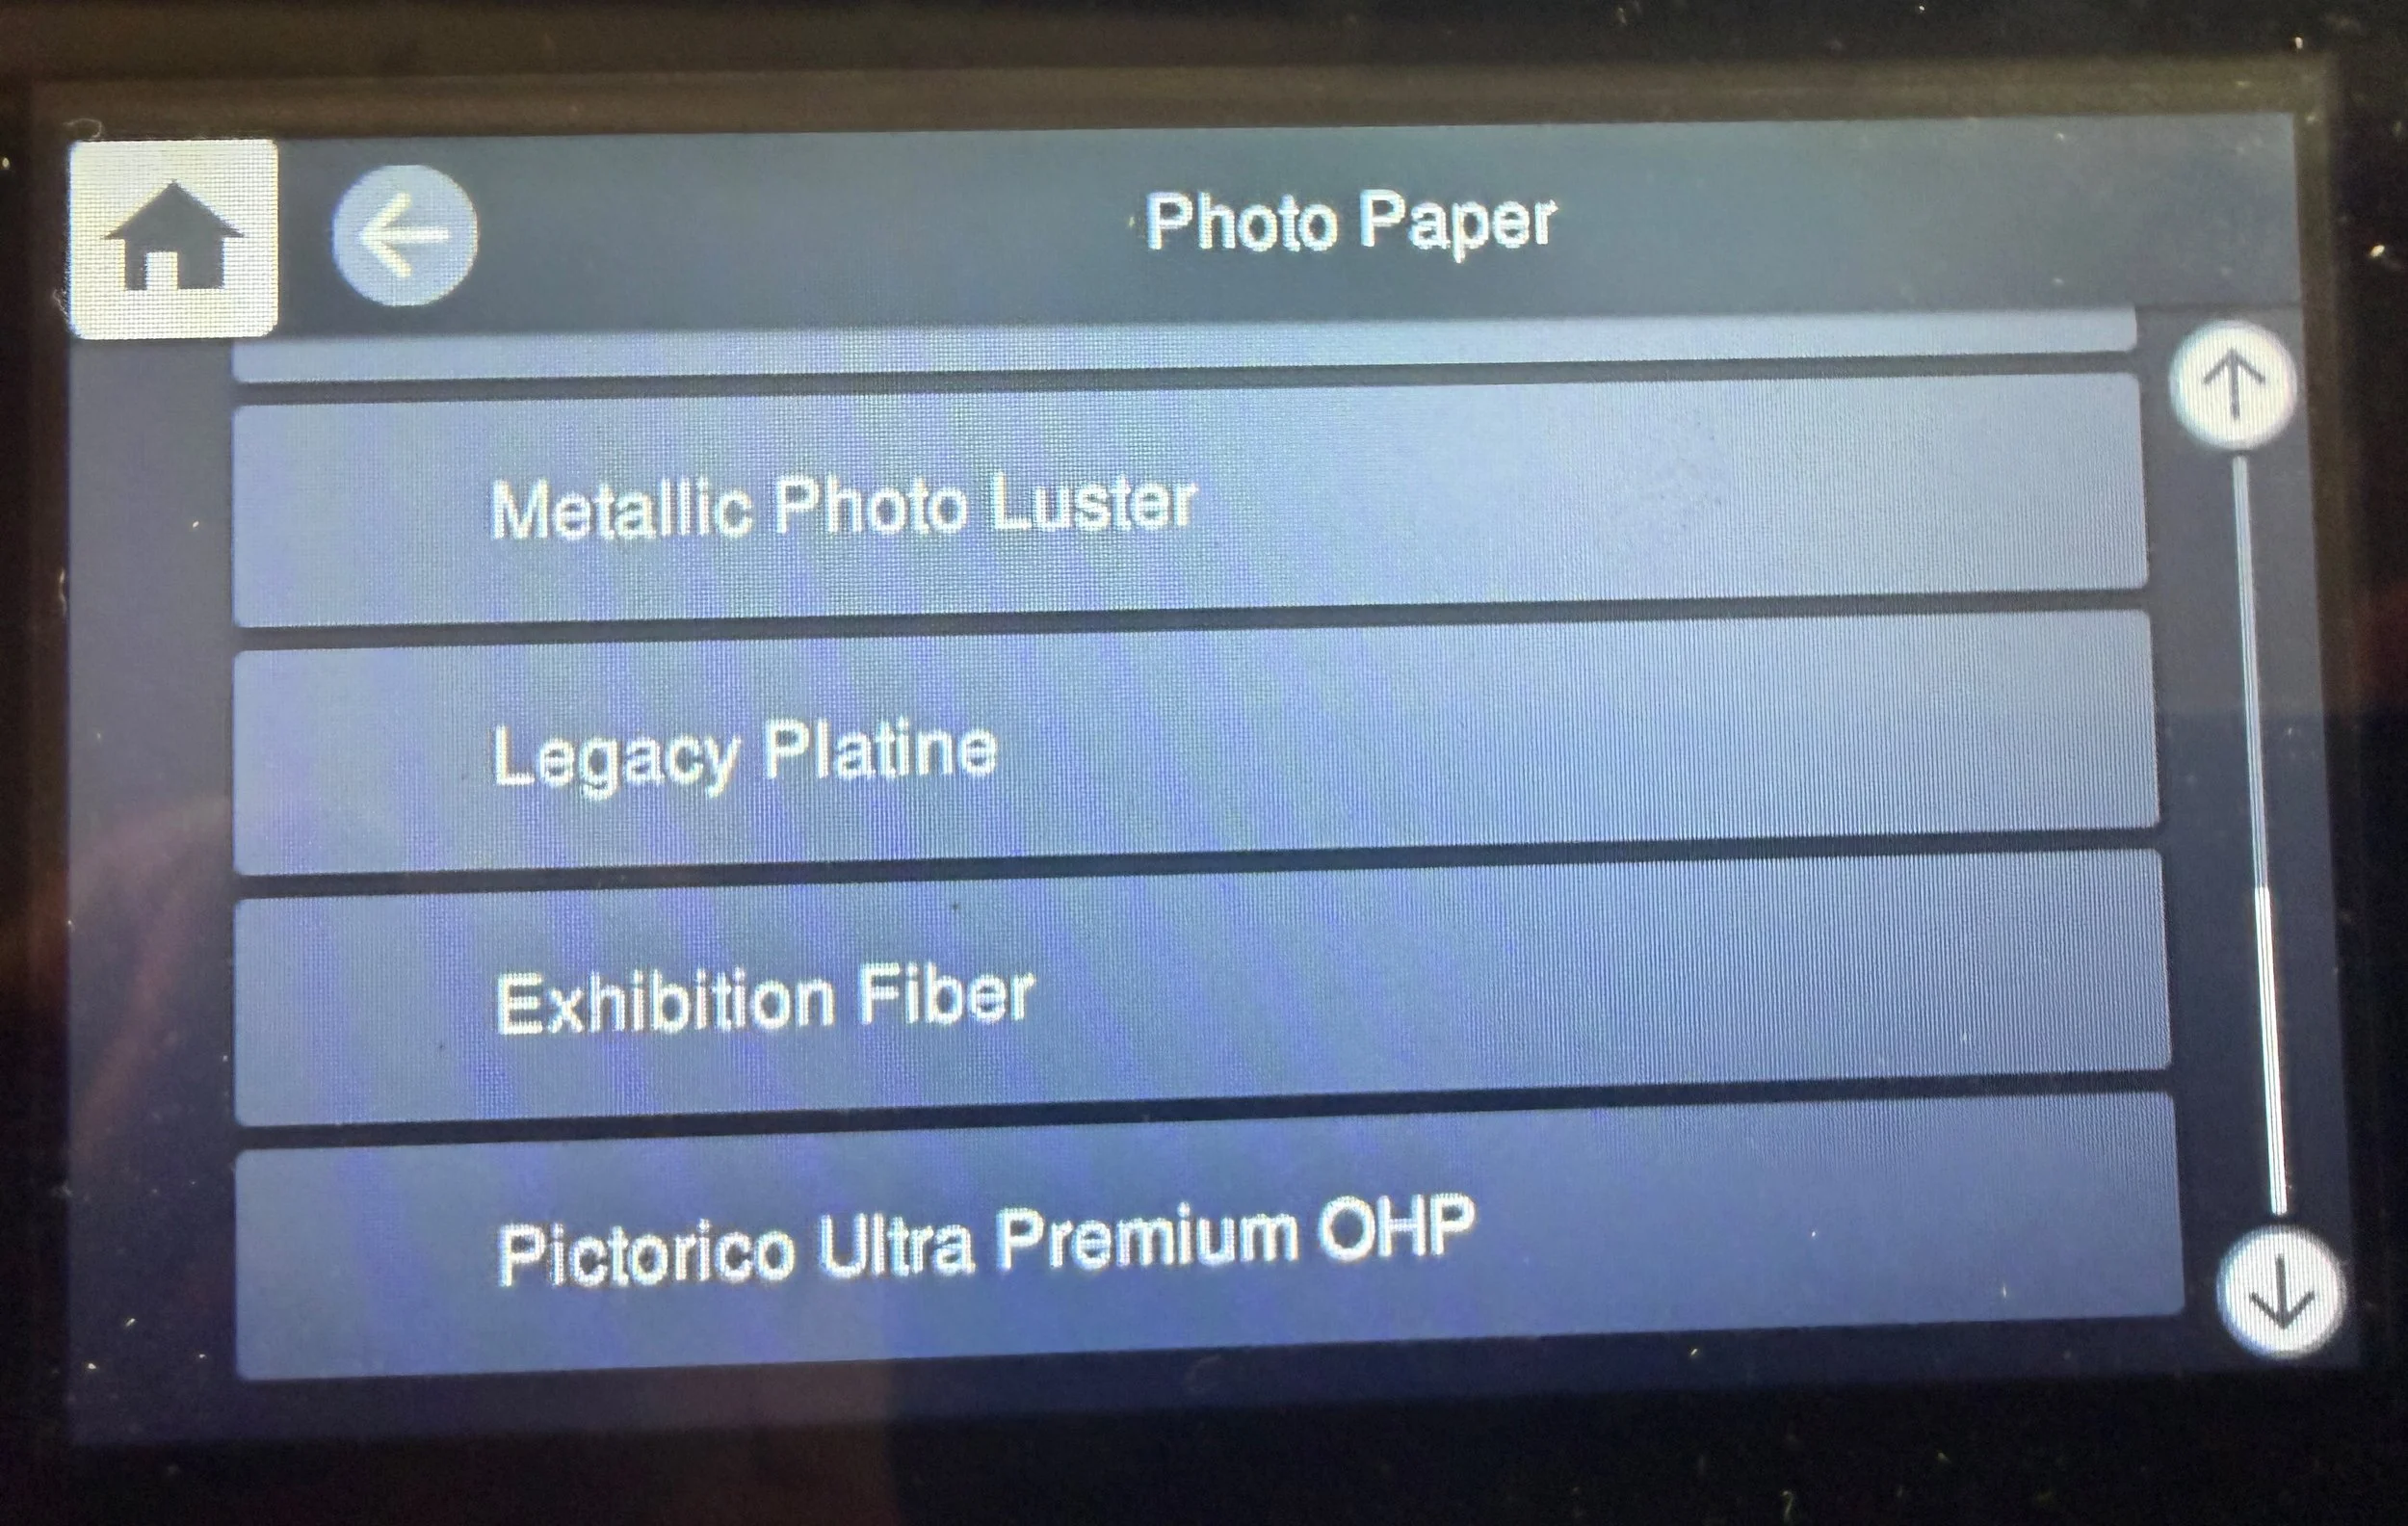
And when you insert a sheet of Pictorico Pro Ultra Premium OHP into the Epson printer, you will now be able to select it as a paper type in the printer’s list of media profiles: