The Platinum-Palladium printing process

Platinum-palladium printing is a traditional wet-chemistry process that dates back to the mid-nineteenth century. It is a labor-intensive and expensive practice that yields highly archival prints with a beautifully subtle yet wide tonal range. For these reasons, platinum-palladium prints are highly sought-after by photography collectors.
Some of my favorite masters of the process include Irving Penn, Kenro Izu, and Jeffrey Conley.
I will briefly walk you through my pt-pd printing methodology in this article.
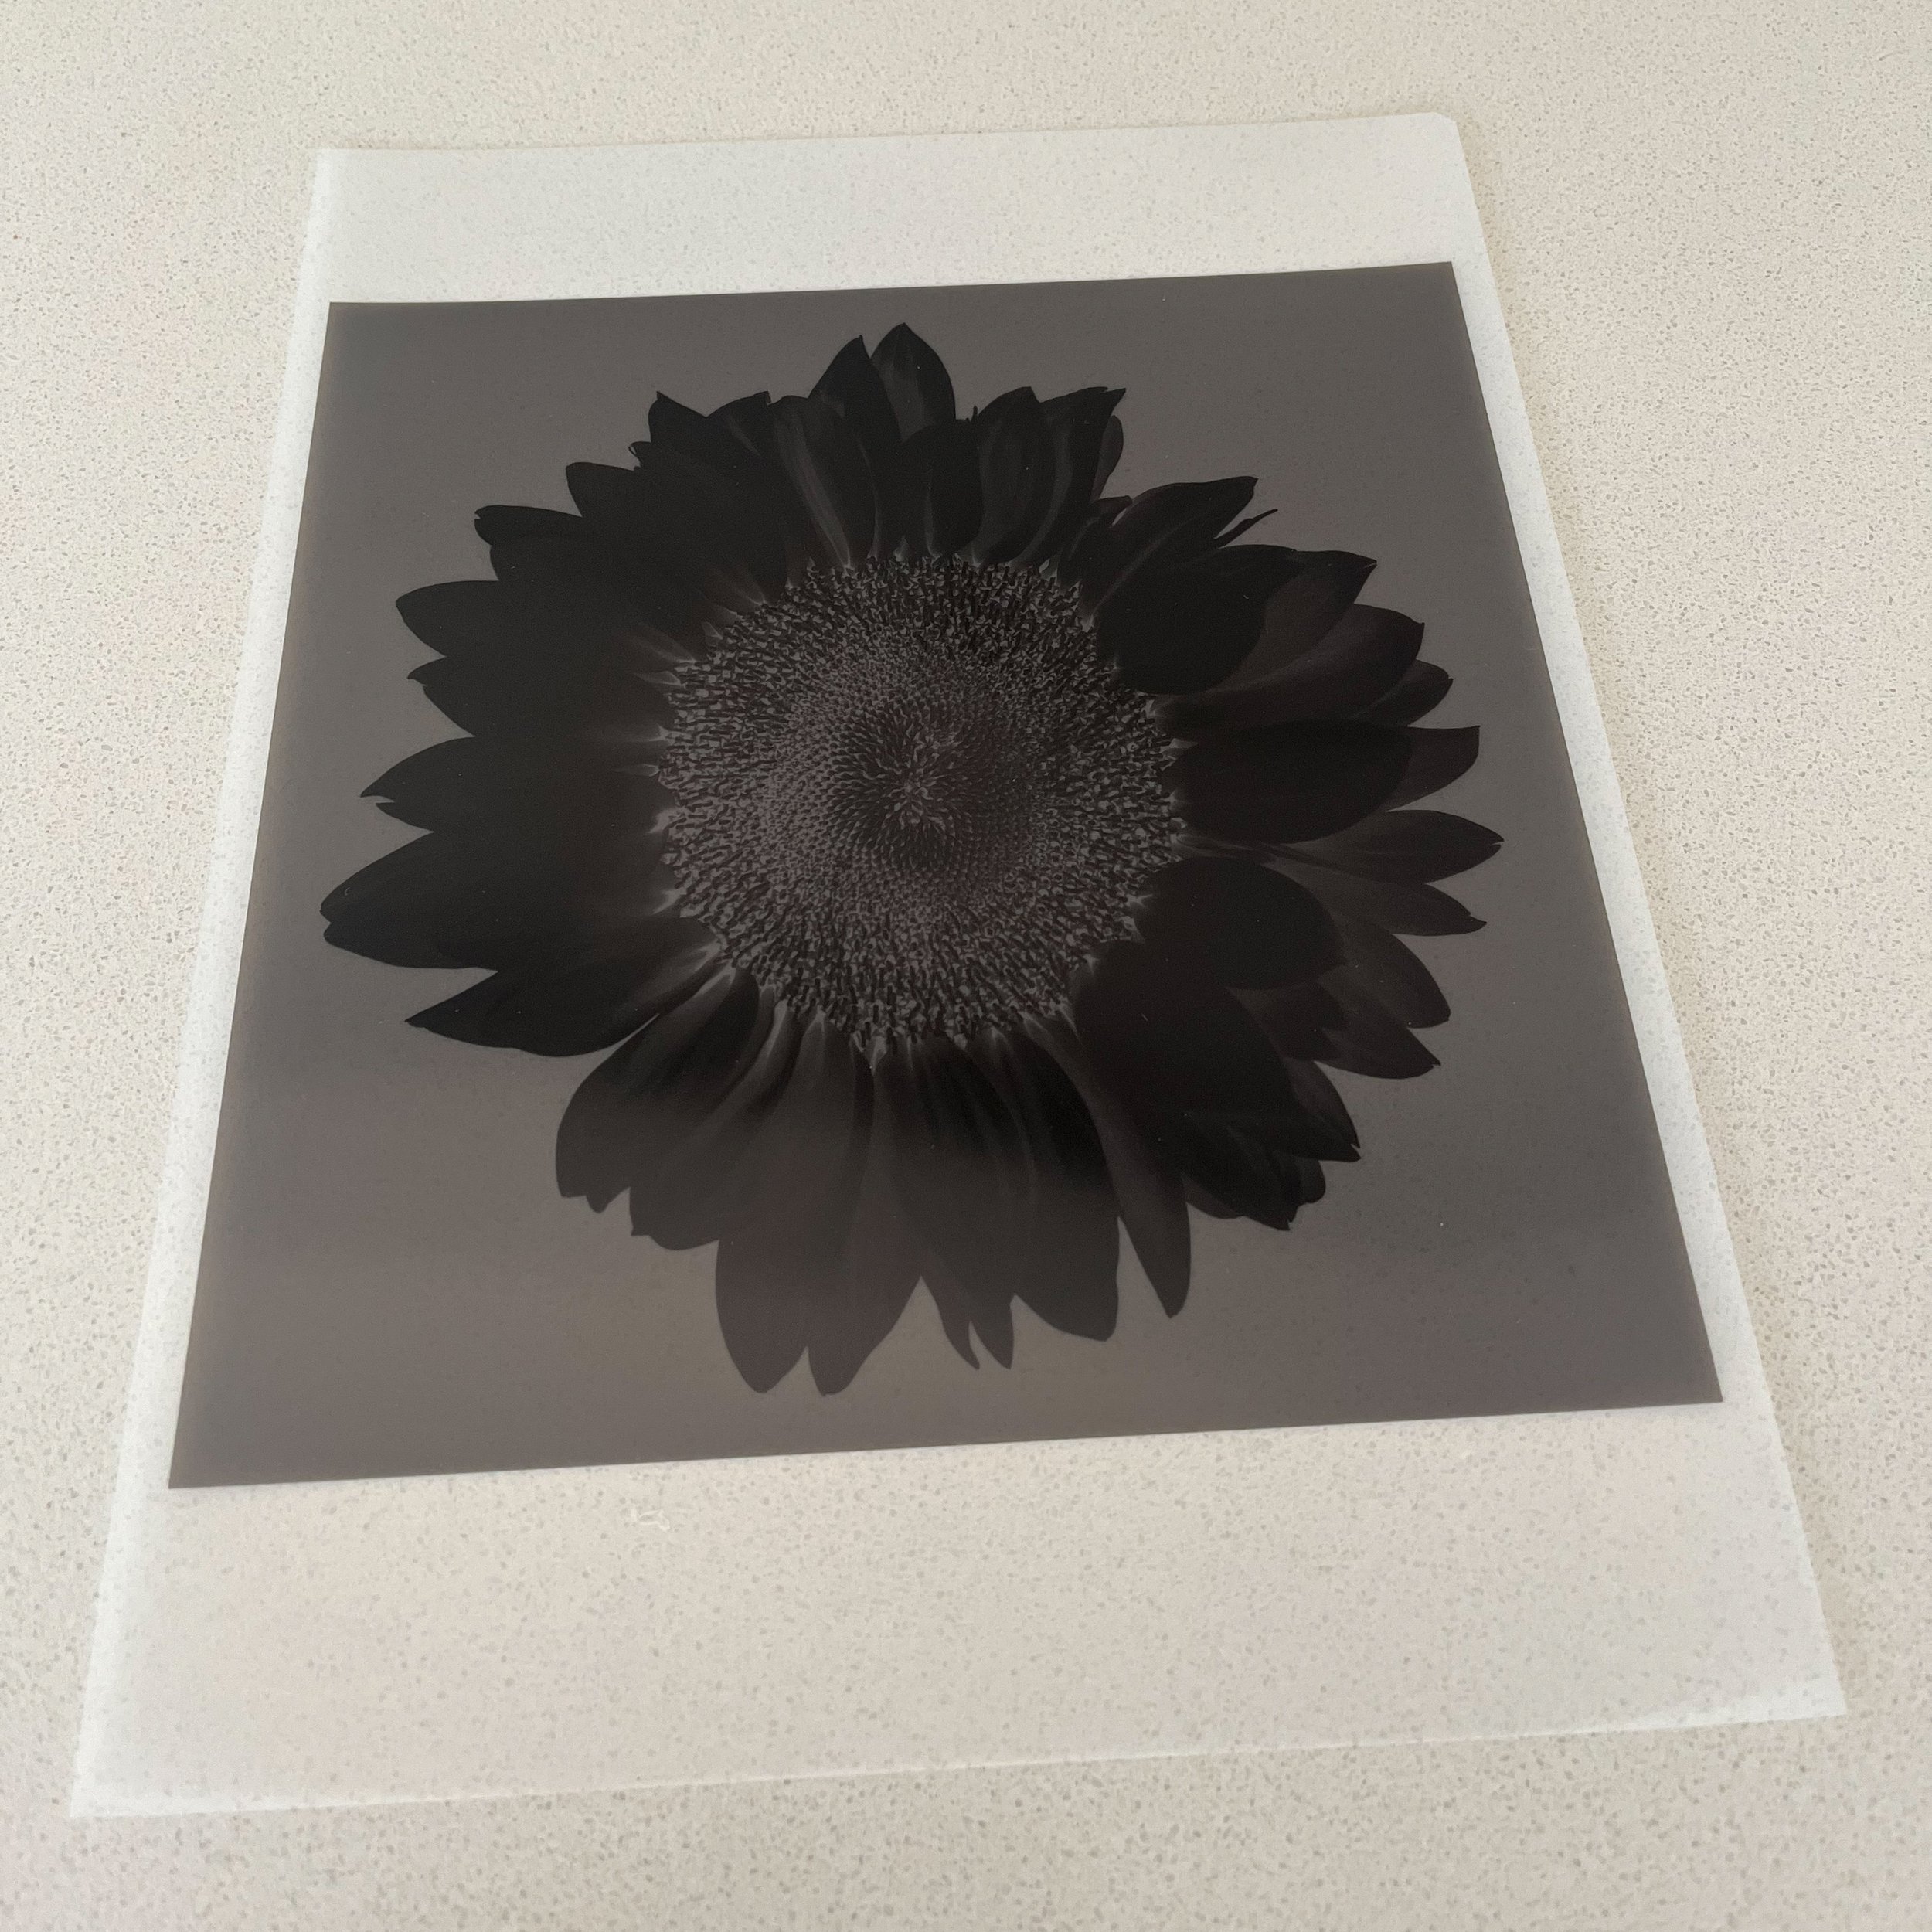
Platinum-palladium printing is a contact printing process. Instead of printing from a small negative using an enlarger, the negative needs to be the same size as the final print, and the negative and chemistry-coated paper need to be in direct contact with each other during exposure. For my flower studies project, I make the photographs using a medium format Hasselblad film camera. The film is sent to a lab to be developed and scanned. Once I receive the scanned image file, I edit it in Lightroom (usually, this might include some exposure and contrast changes, dodging and burning, and removing any dust spots), then print the resulting image onto transparency film. This becomes the negative used to make the pt-pd print.
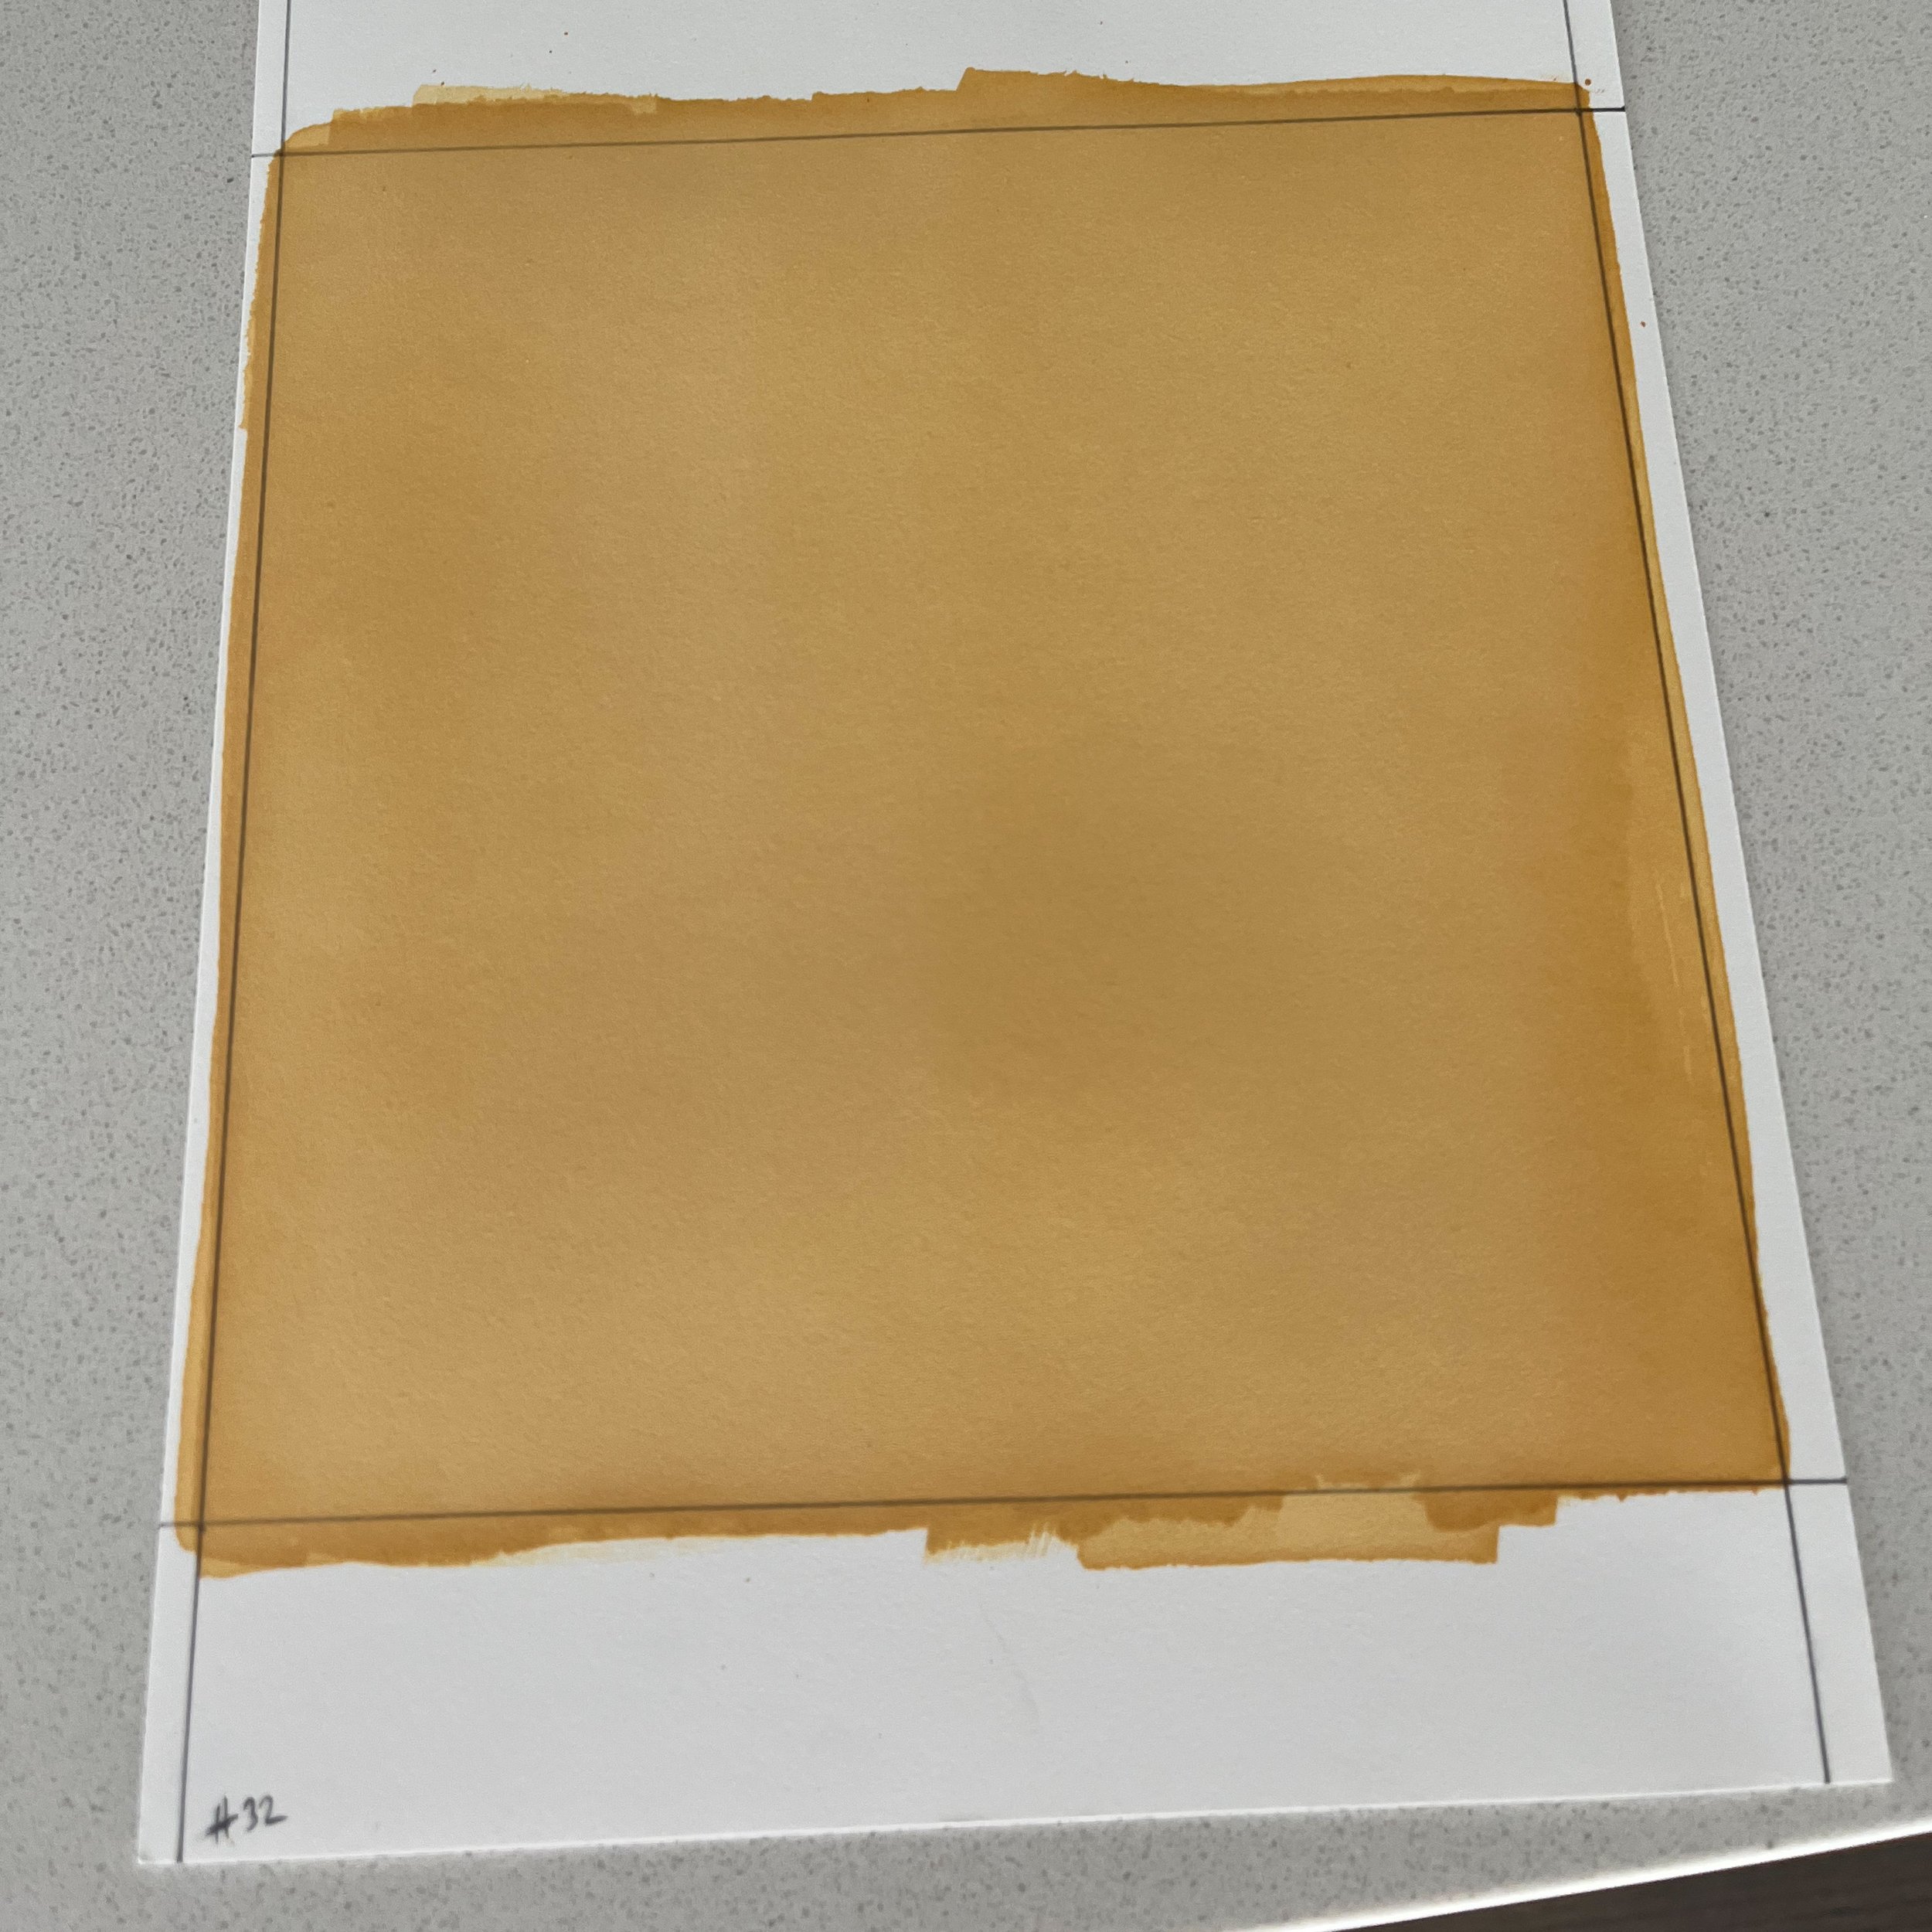
Once the negative is ready, it is time to prepare the paper. The paper used for the pt-pd process is typically made from 100% cotton fiber and must be free of acids, alkaline buffering, or optical brightening agents. My paper of choice is Hahnemühle Platinum Rag. The paper itself is not sensitive to UV light; an emulsion of chemistry must be manually applied to it. Typically, the chemistry will consist of a combination of sodium platinum and/or palladium solutions and ferric oxalate. There are myriad combinations of chemistry types and quantities, each yielding slightly different results. I apply one coating of liquid chemistry (using a hand-made Kobayashi synthetic hair brush), let the paper dry, then apply a second coating - I have found this double application method to yield prints with deeper blacks and slightly increased contrast. Once the second application of chemistry has thoroughly dried, I can proceed with printing.
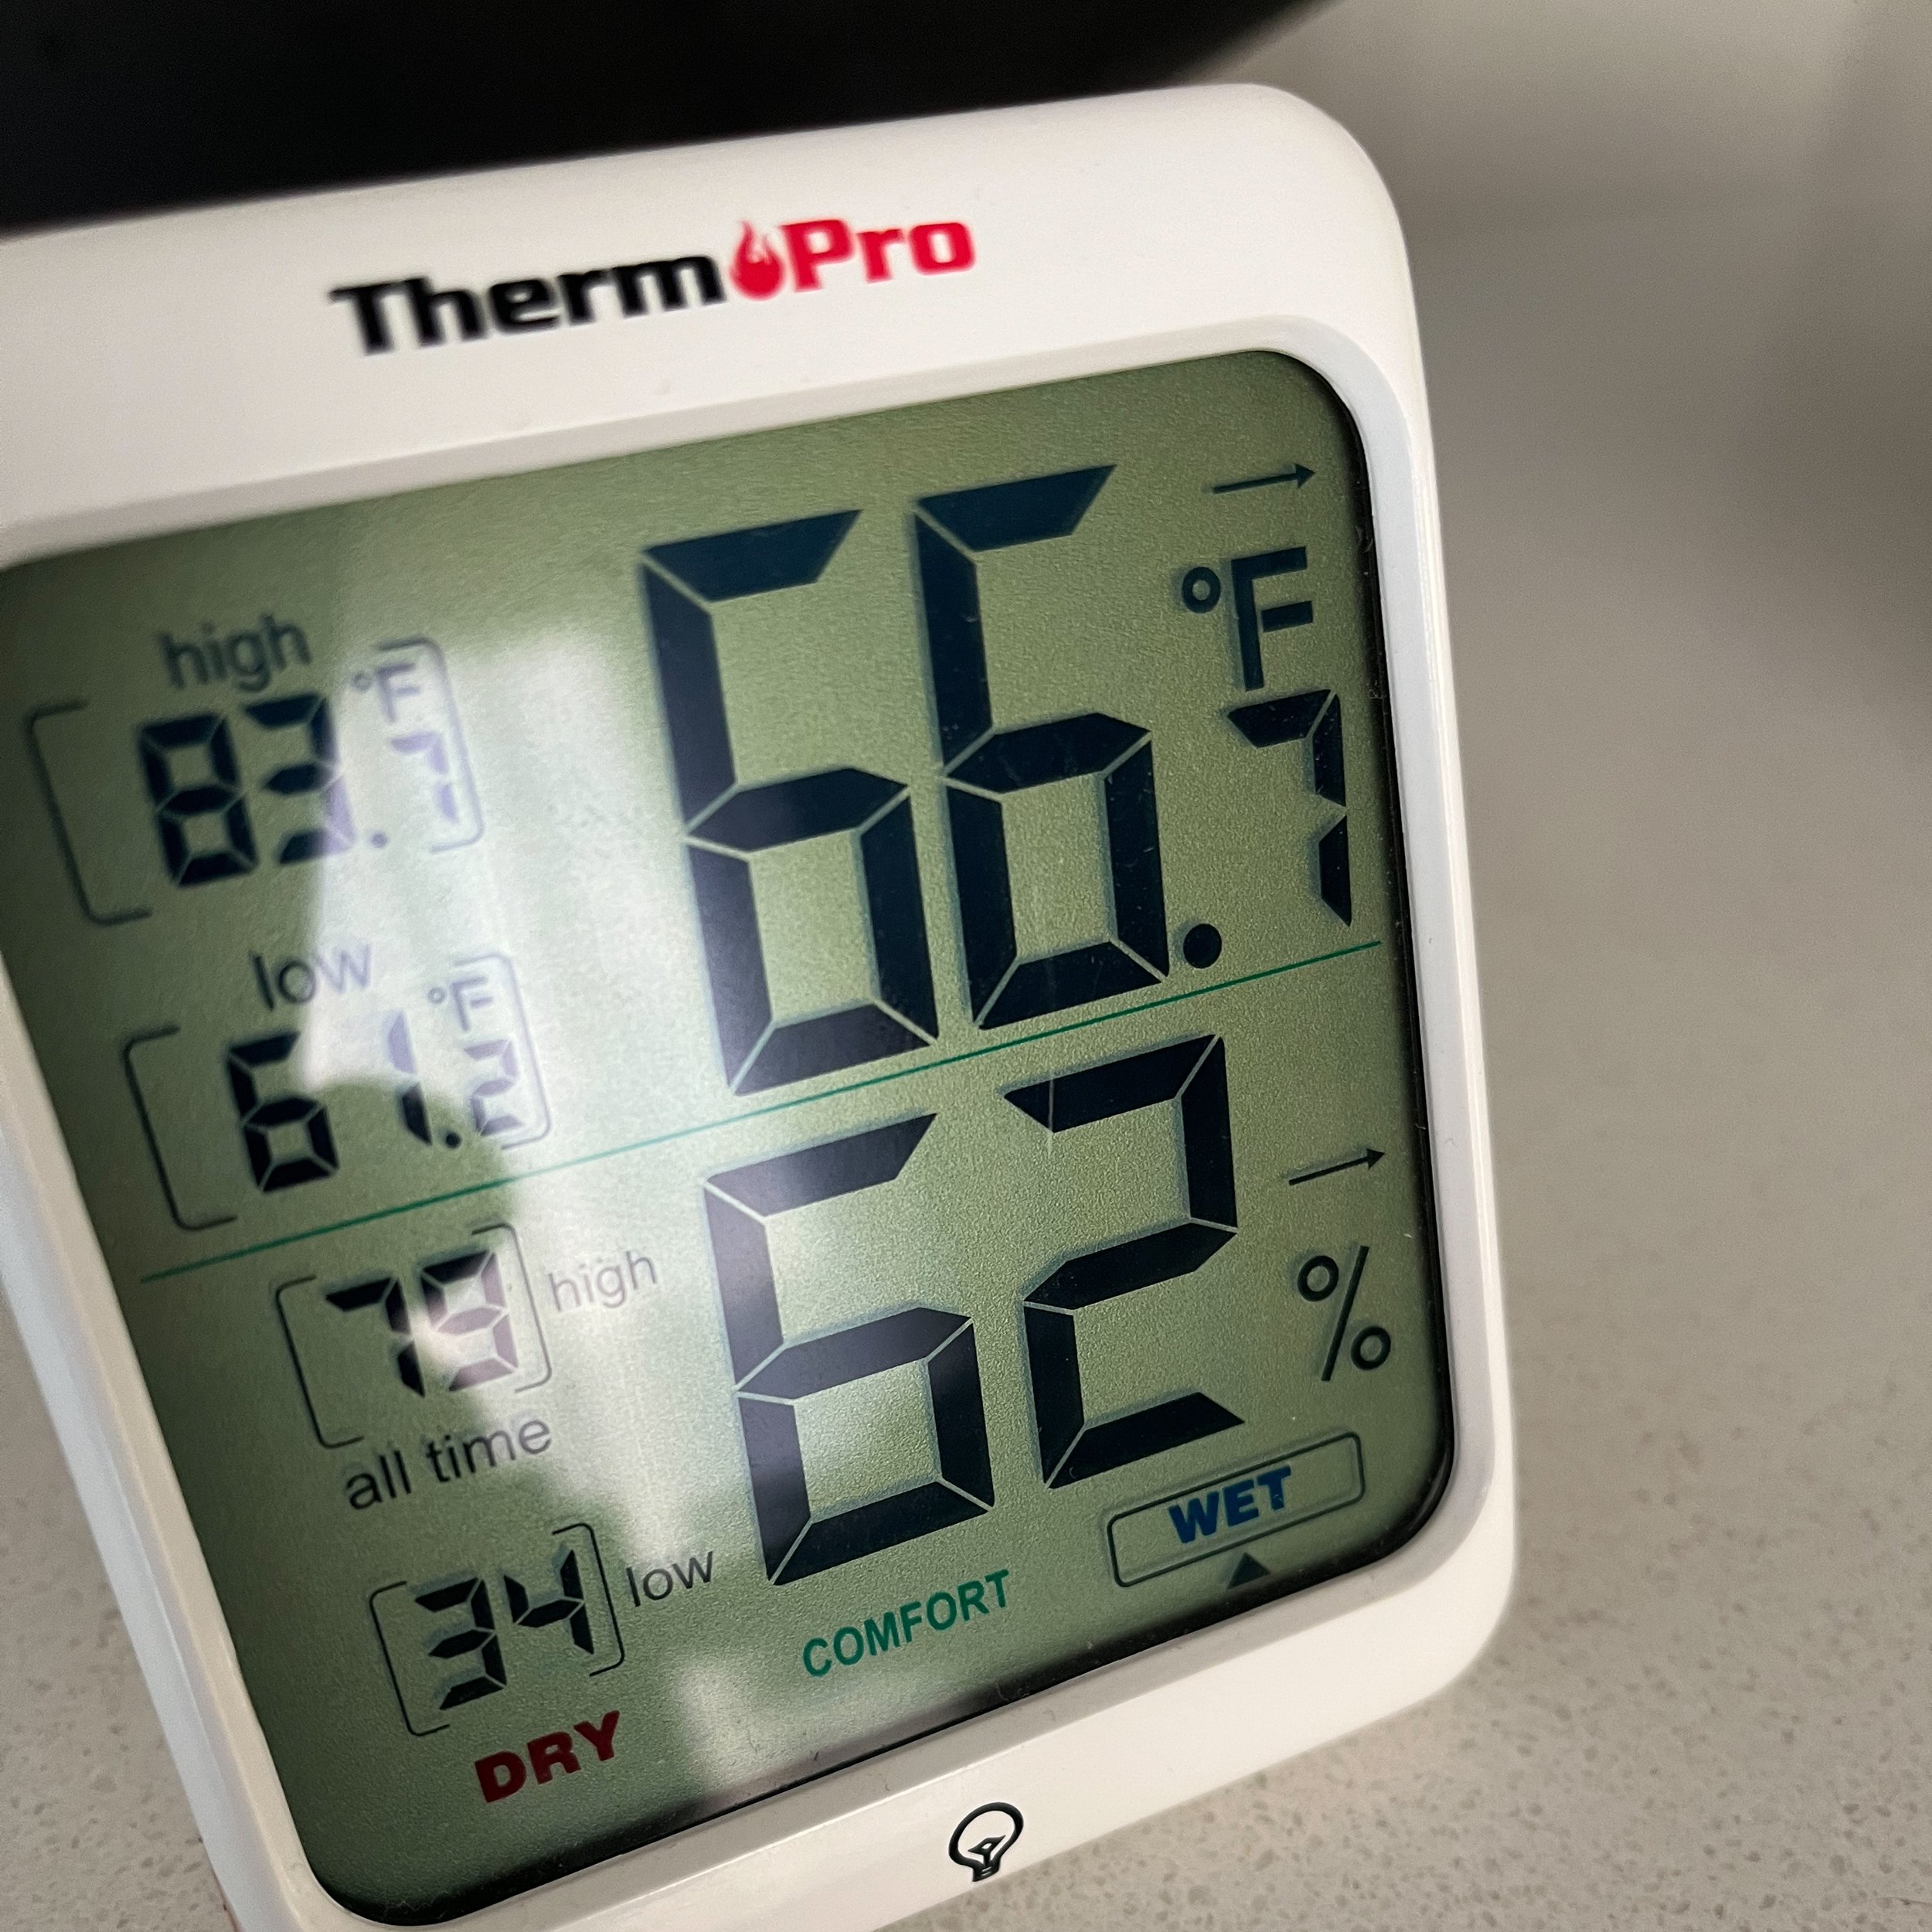
I should mention that ambient relative humidity is a critical factor in the pt-pd process. Relative humidity must be somewhat elevated for the paper to absorb the chemistry solution optimally. I prefer to work in a relative humidity range of 60 to 70% throughout the process.
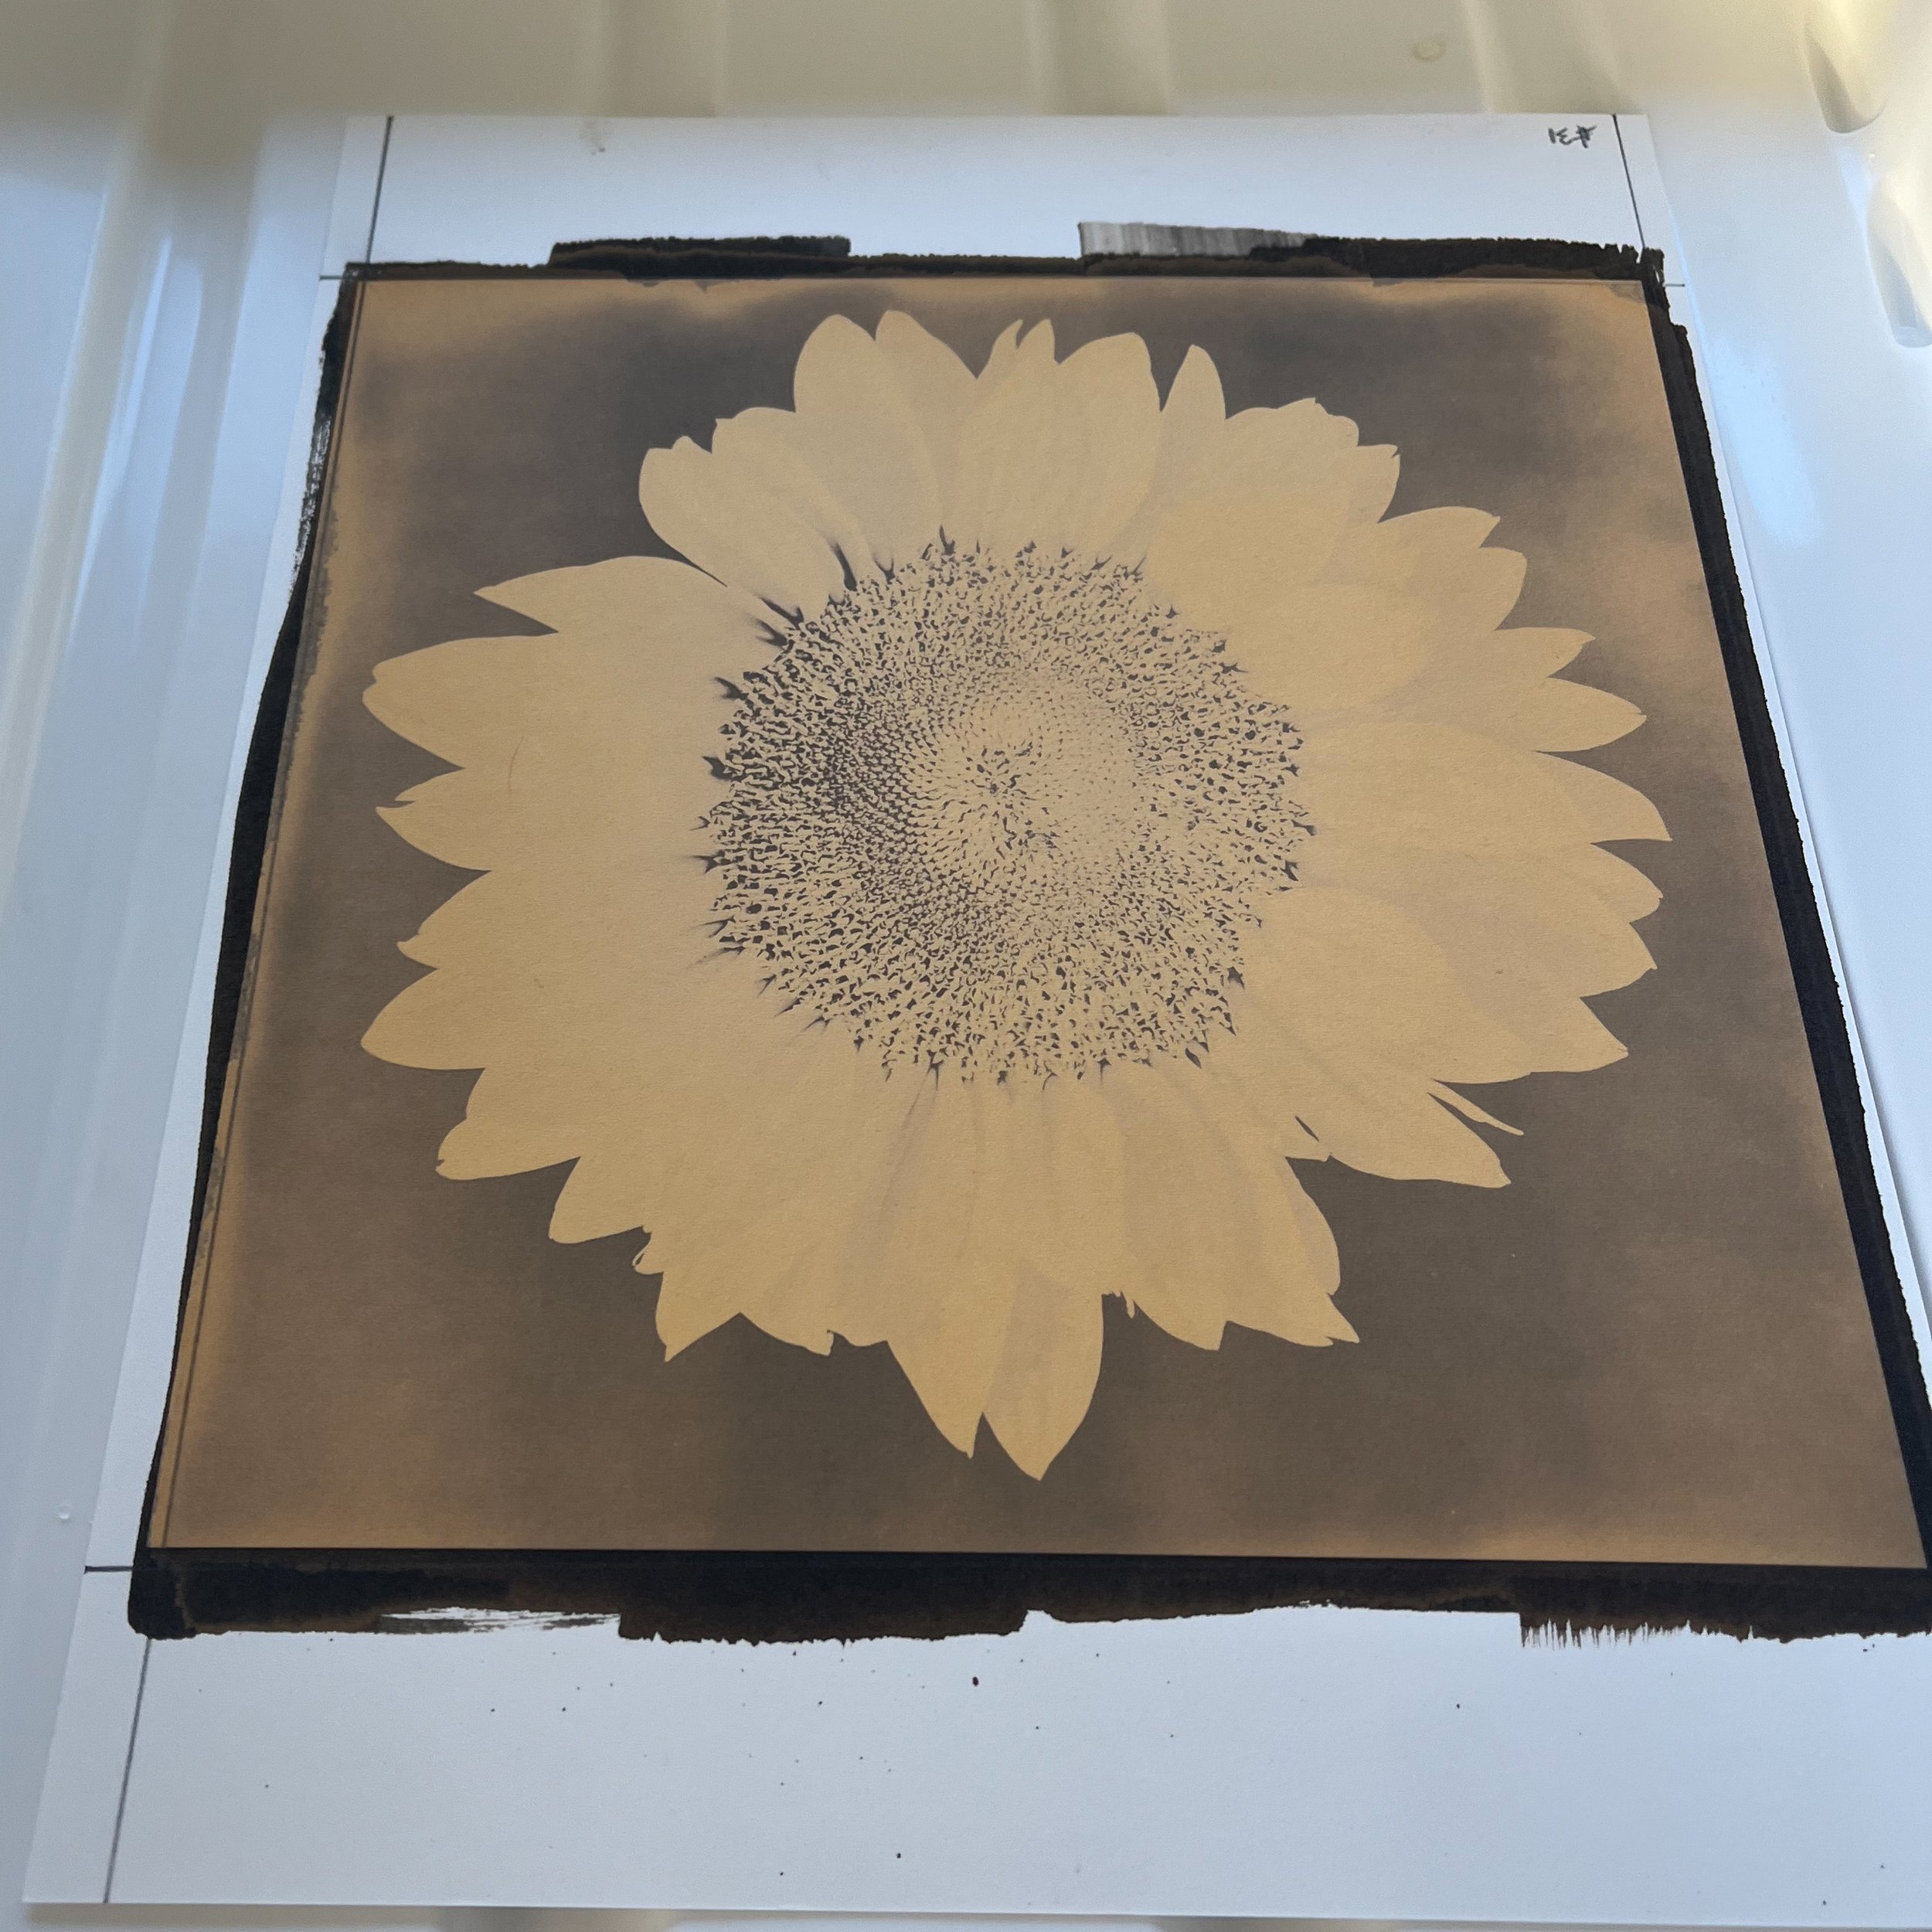
The negative is placed face-down on the emulsified paper (hence the "contact printing" nomenclature). Both negative and paper are placed inside a contact printing frame, ensuring contact is maintained for the duration of the exposure. The contact frame is then placed in a UV light exposure unit. With my unit, exposure time can vary from 6 to 12 minutes, depending on the density range of the negative and the desired results. Every negative is different, so there's no way to get a perfectly exposed print the first time every time; some trial and error is usually required.
Developing the exposed print - the most satisfying part of the process.
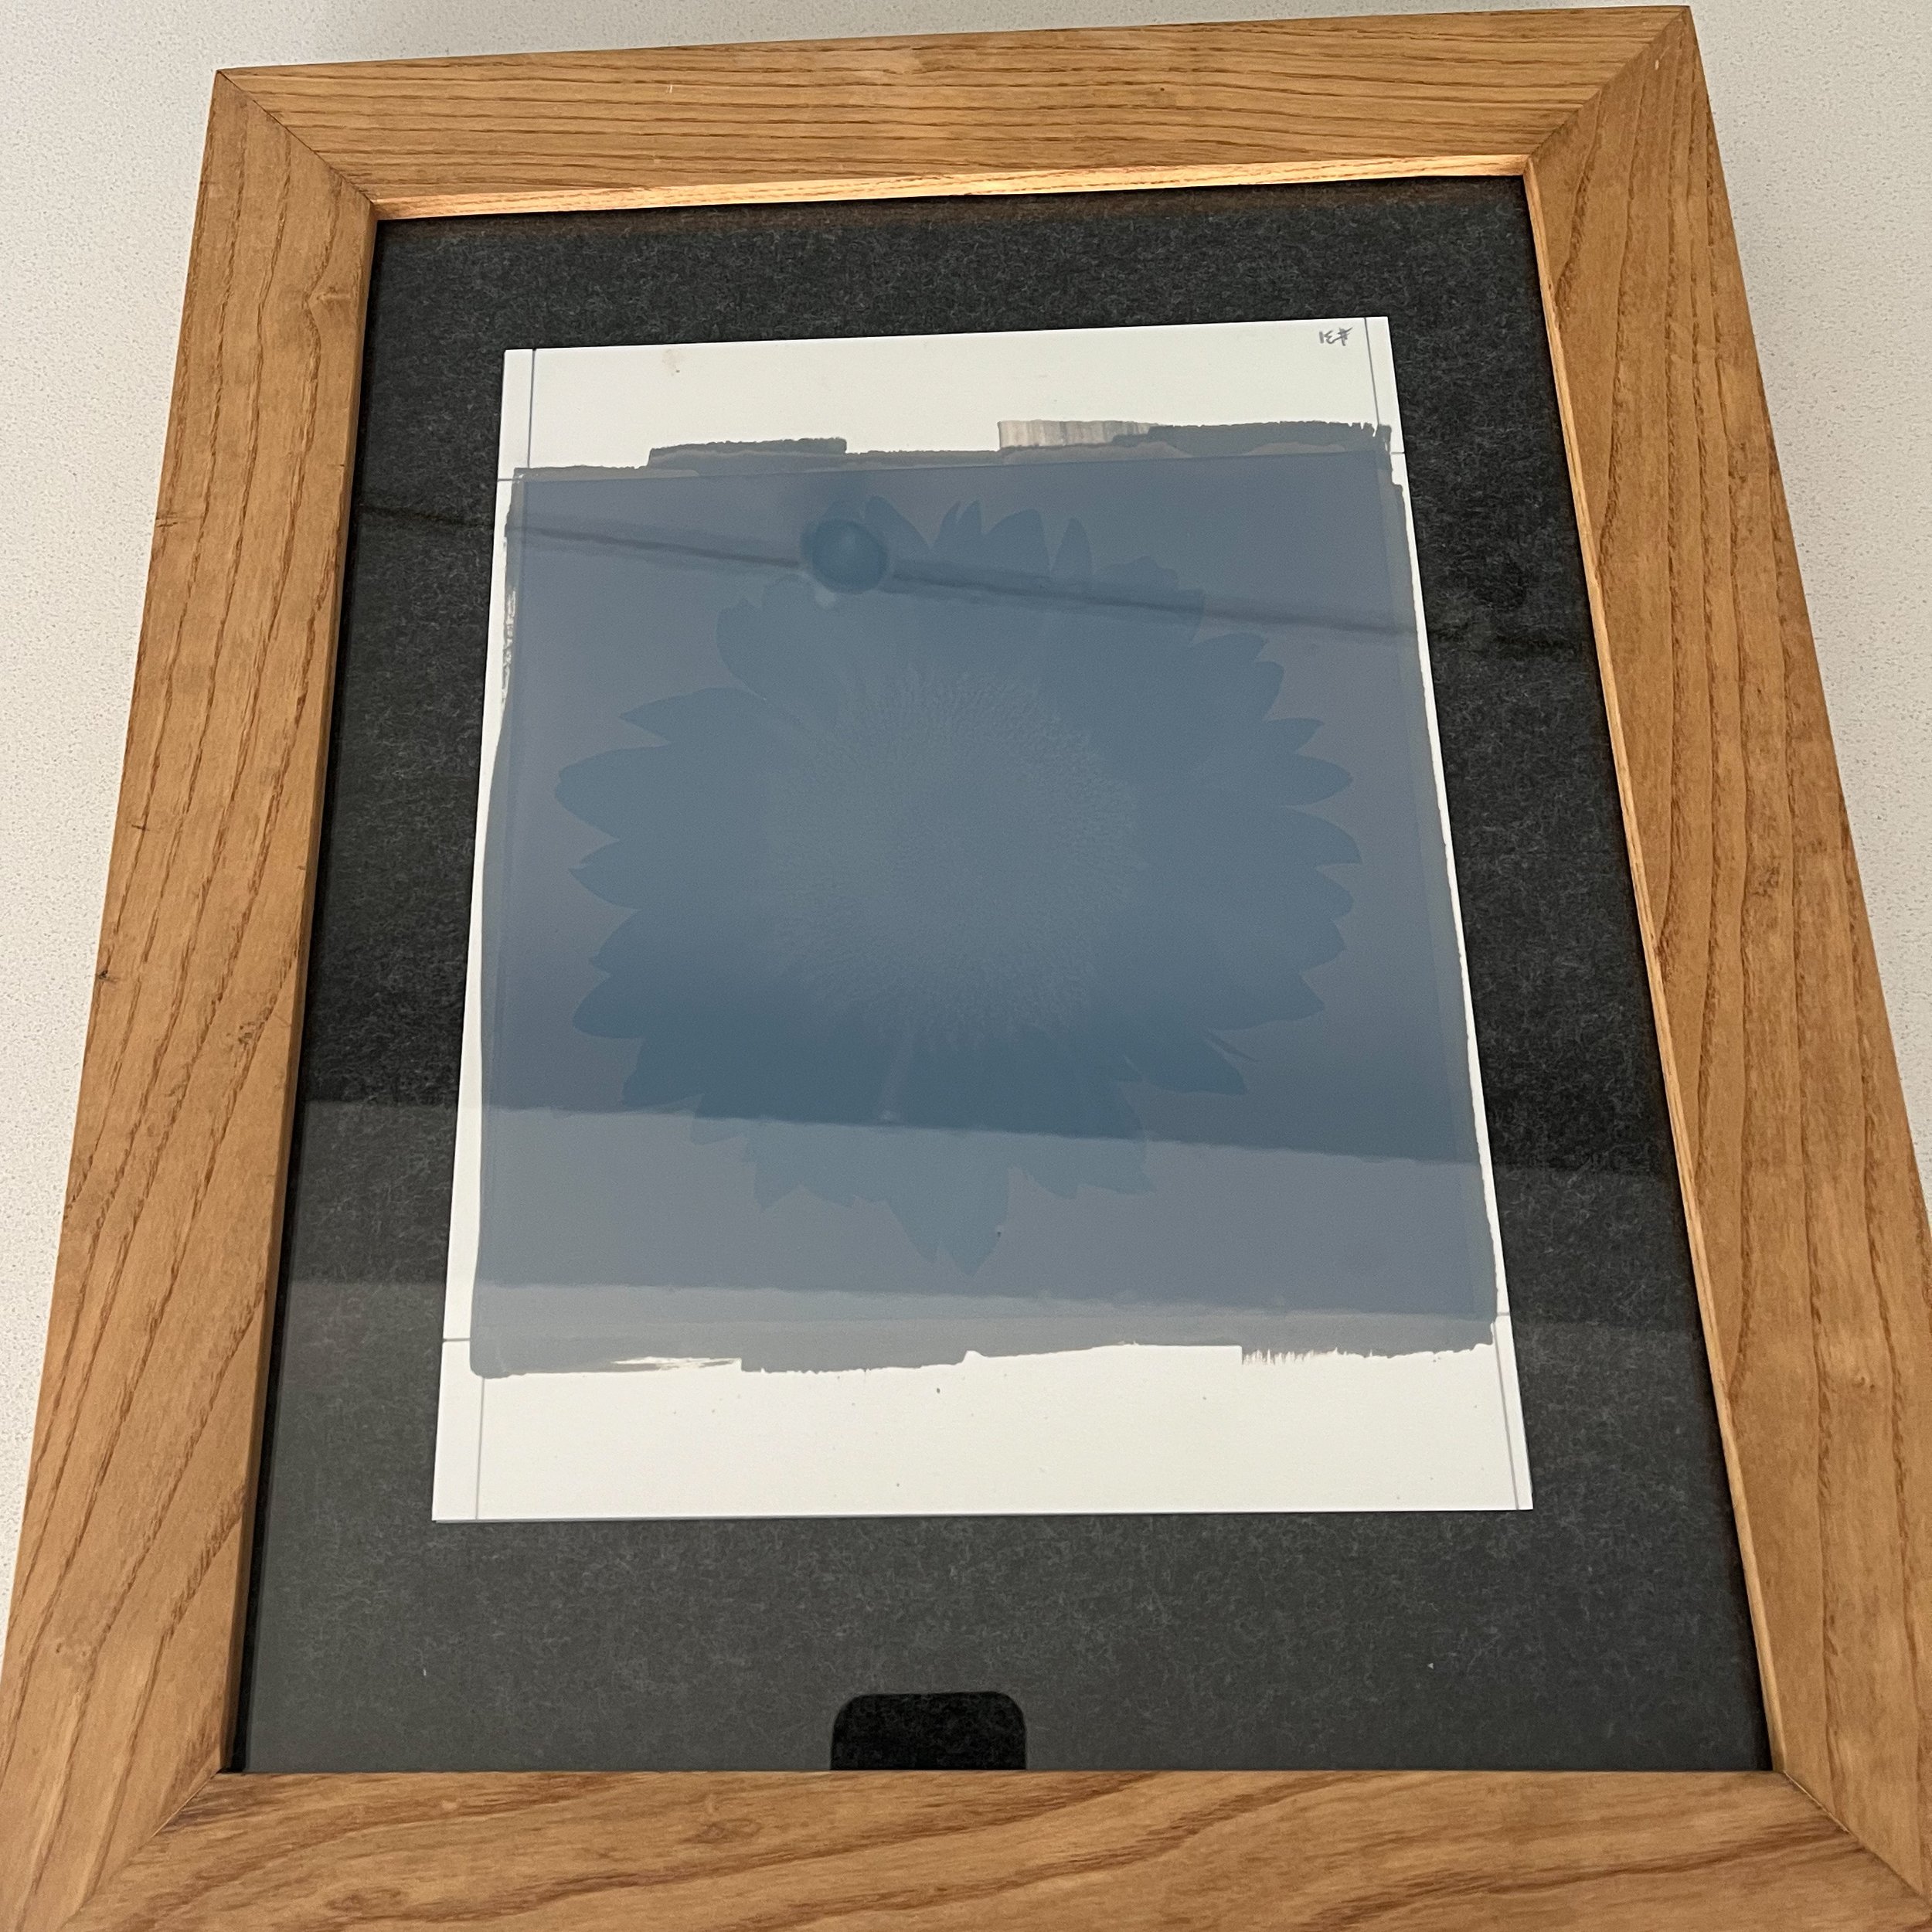
Once the paper has been exposed, it is removed from the contact frame, separated from the negative film, and placed in a developer bath. This is the most enjoyable part of the process. Platinum prints develop almost immediately when placed in the developer solution; the image will fully reveal itself within a second or two. I usually use a potassium oxalate developer solution but occasionally use ammonium citrate if looking for cooler tones or working with a slightly underexposed image. The print is kept in the developer bath for 2 minutes, then moved to the first of two clearing baths. Each clearing bath contains a solution of sodium bisulfite and EDTA. These clearing agents remove any leftover chemistry from the paper. I typically leave the print in each clearing bath for 15 minutes, then move the print to a final distilled water wash bath for another 20 to 30 minutes. To complete the process, the print is dried, flattened, and - if it meets my quality control standards - it will be matted and prepared for sale or exhibition.